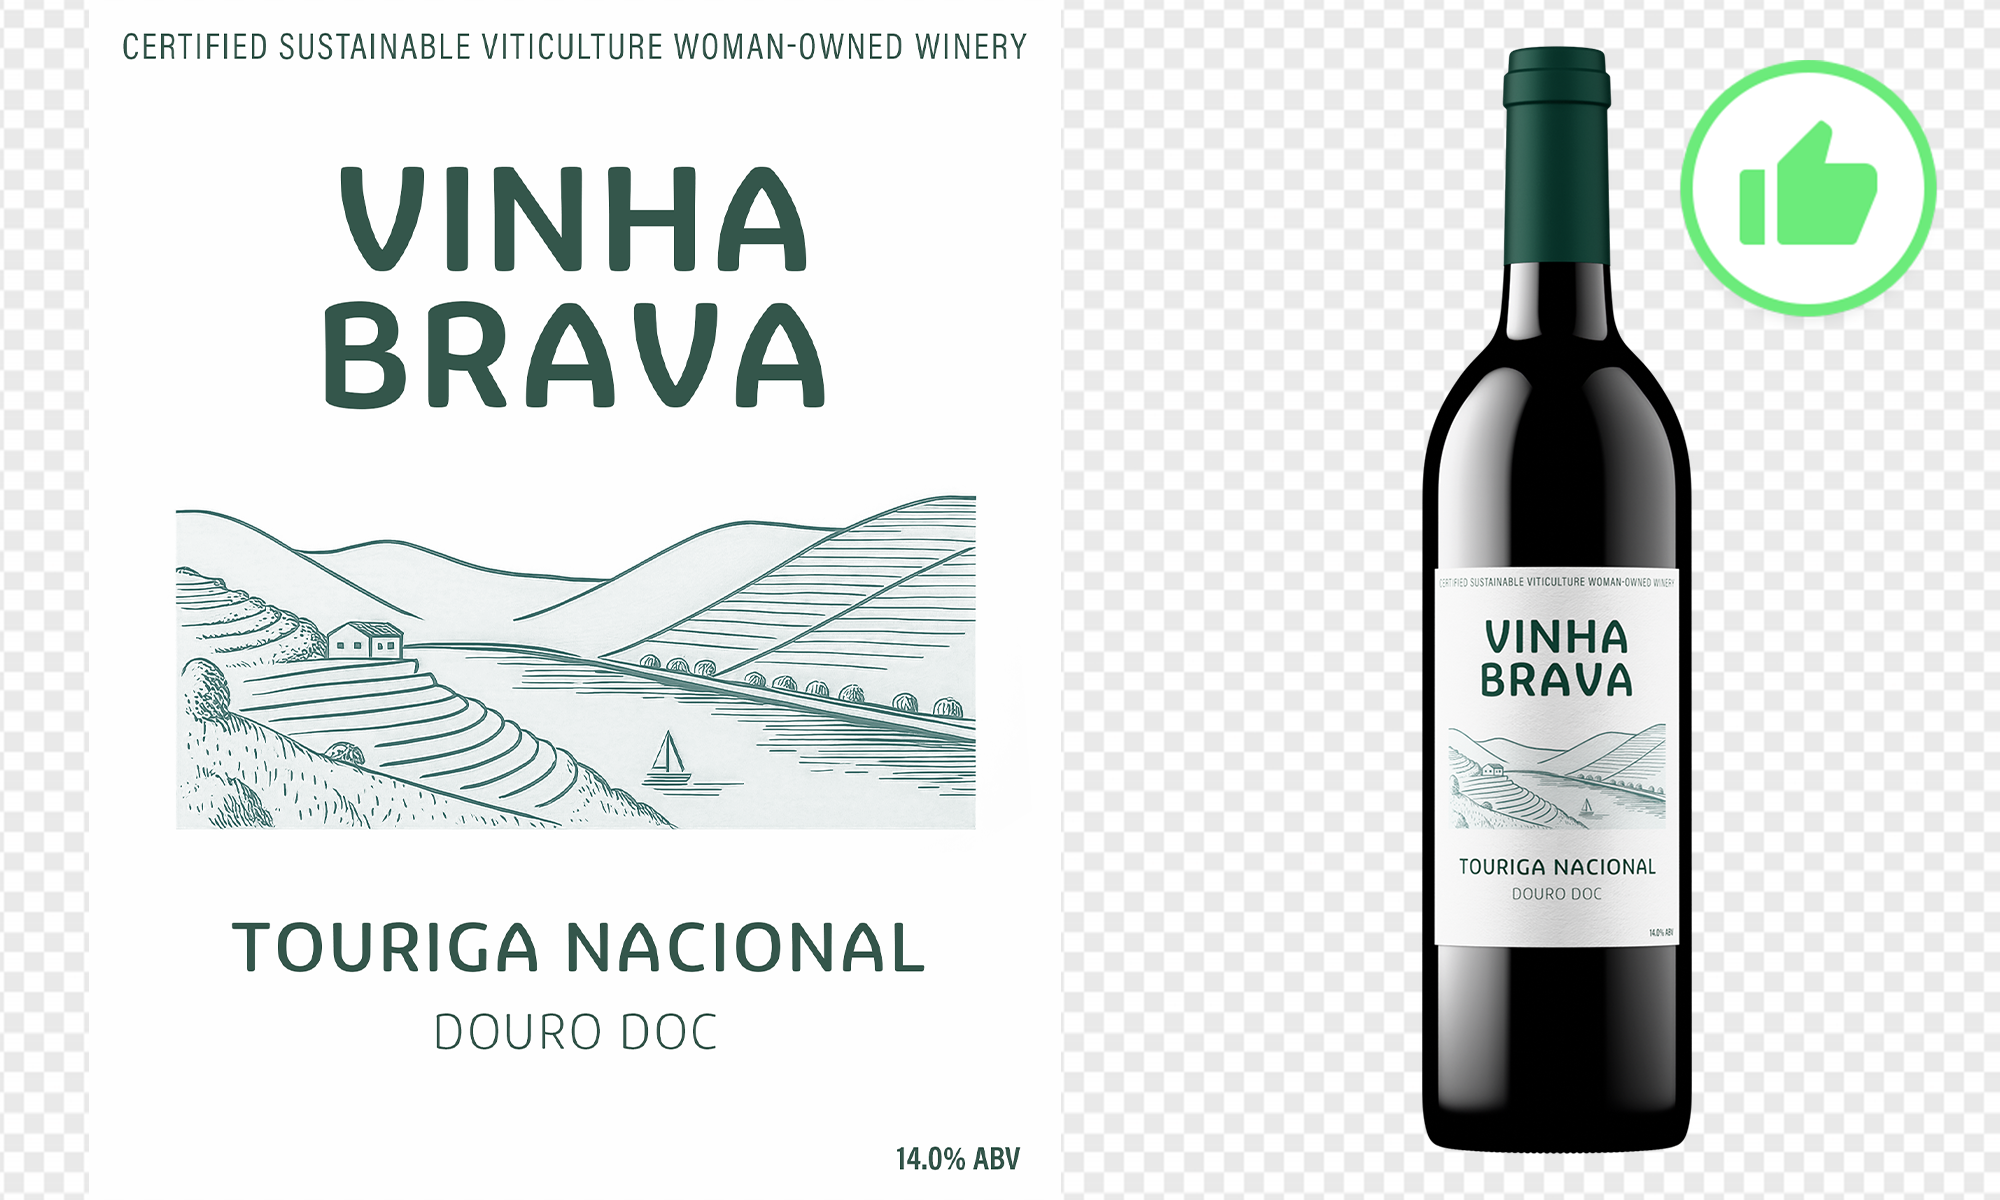
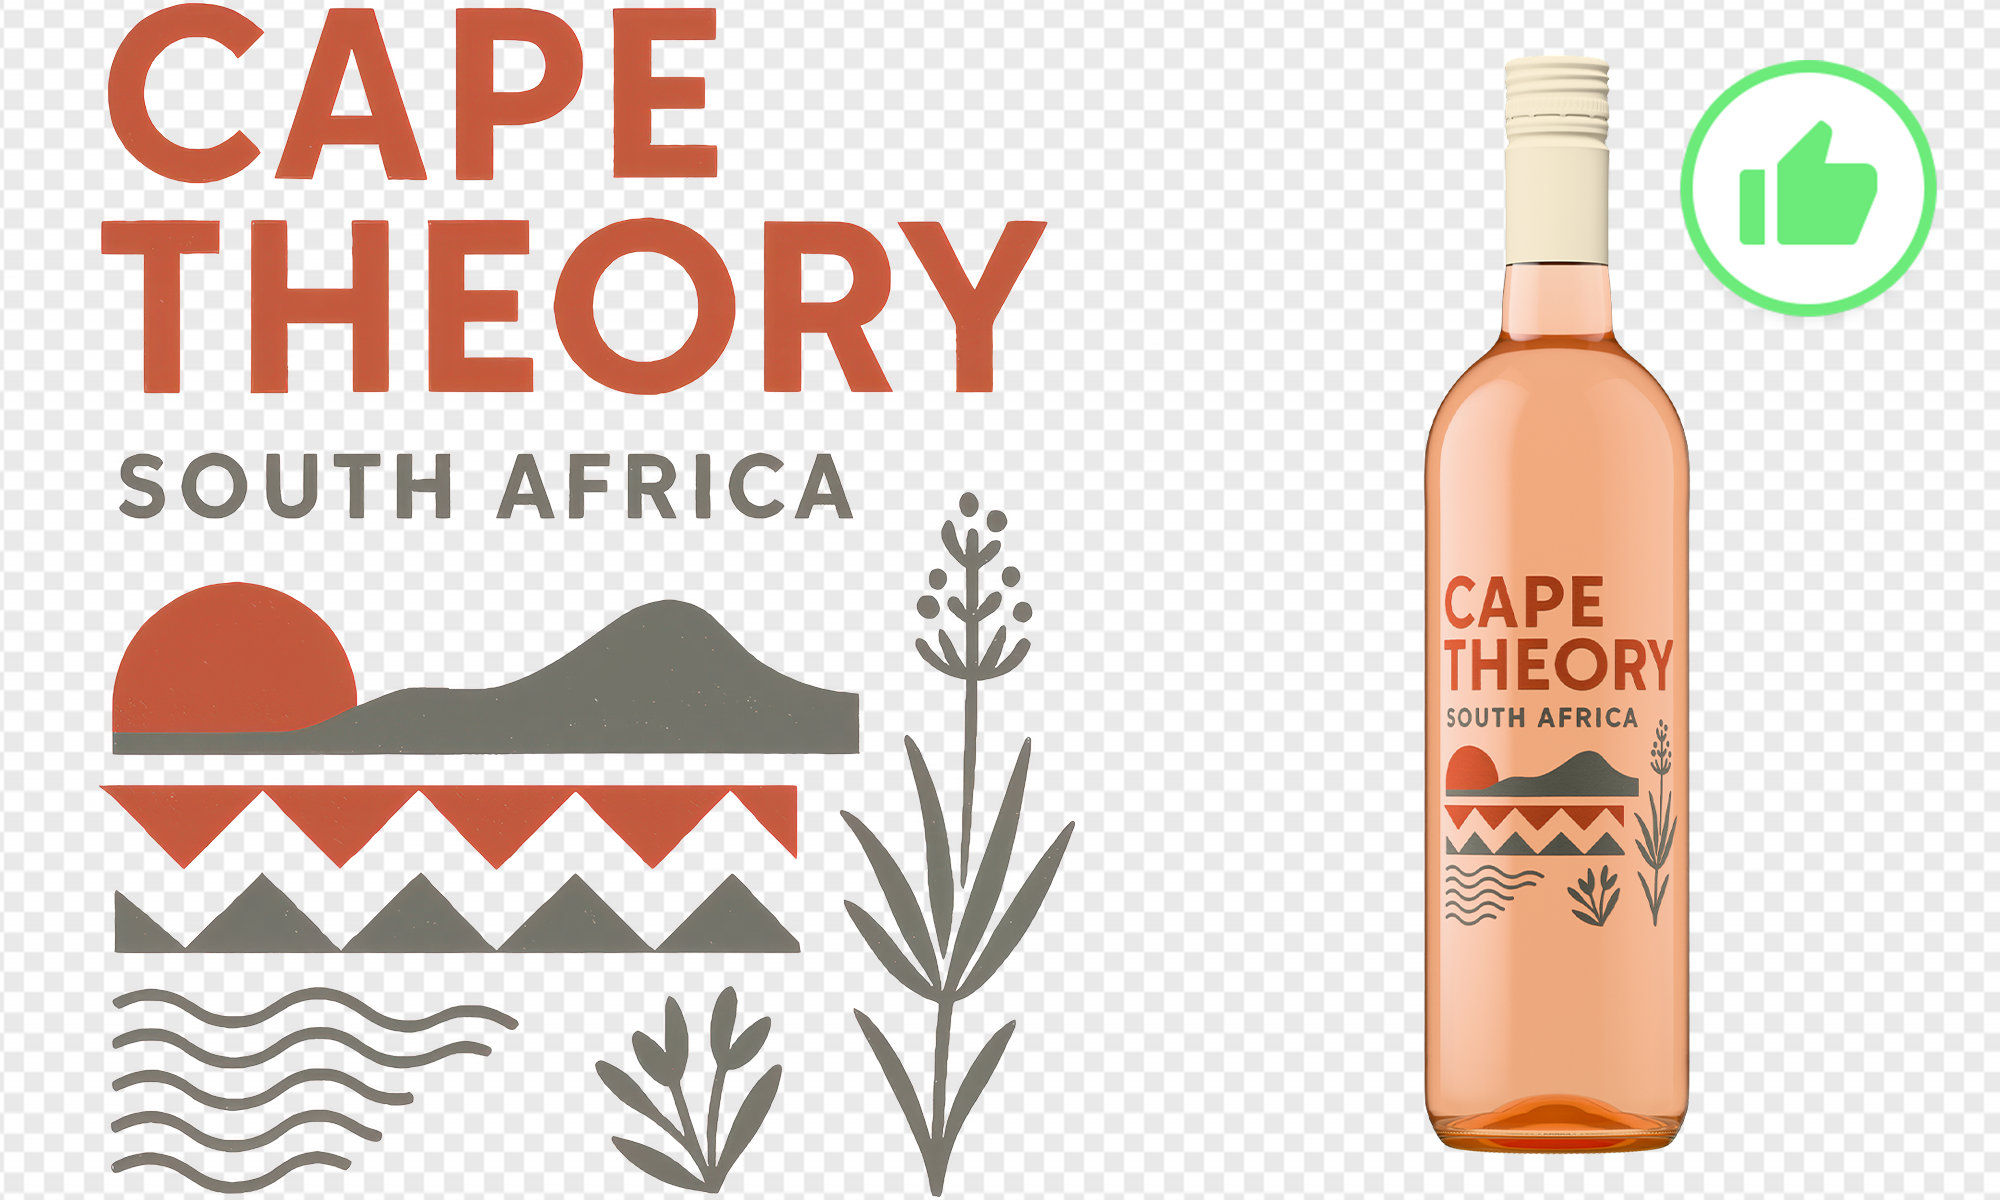
Use a PNG file
A PNG is an image format that supports transparency, which means no white box will appear around your label. Blurry or pixelated files will always produce poor results.
Label type | What's transparent? | What stays opaque? |
|---|---|---|
Paper label | Only the area outside the label edges | Everything inside the label shape, including the paper |
Clear/film label | The clear film areas + outside the edges | Just the printed ink and any opaque elements |
Silkscreen / ACL | Everything except the printed ink | Only the ink/design elements |

Alternative option: JPG
If your label is a standard rectangle or square, you can also upload it as a JPG. However, keep in mind that JPG files don’t support transparency, making them unsuitable for labels with unique shapes. Additionally, JPGs are slightly less sharp than PNGs, especially when it comes to text, resulting in a minor loss of clarity.
Do NOT use: PDF
The Acrobat PDF format is not supported at this stage.
What's more, this file is typically submitted by printers for your final approval before printing. It includes crucial details like dieline and printing finish specifications.
Remember, your submission should be as "clean" as possible, precisely matching what will appear on your physical bottle.
Need help with your label?
We’ll turn your artwork into a Lite-ready PNG for free, perfect if:
your label isn’t already cropped,
your label file isn't cropped to its shape with a transparent surround,
you only have a PDF/JPG/AI/EPS file.
(We’ll email your adapted file so you can start your submission.)
Common pitfalls to avoid
❌ Uploading a low-resolution file (blurry or pixelated results)
❌ Uploading a full-printer PDF proof (unsupported format and contains extraneous, irrelevant information)
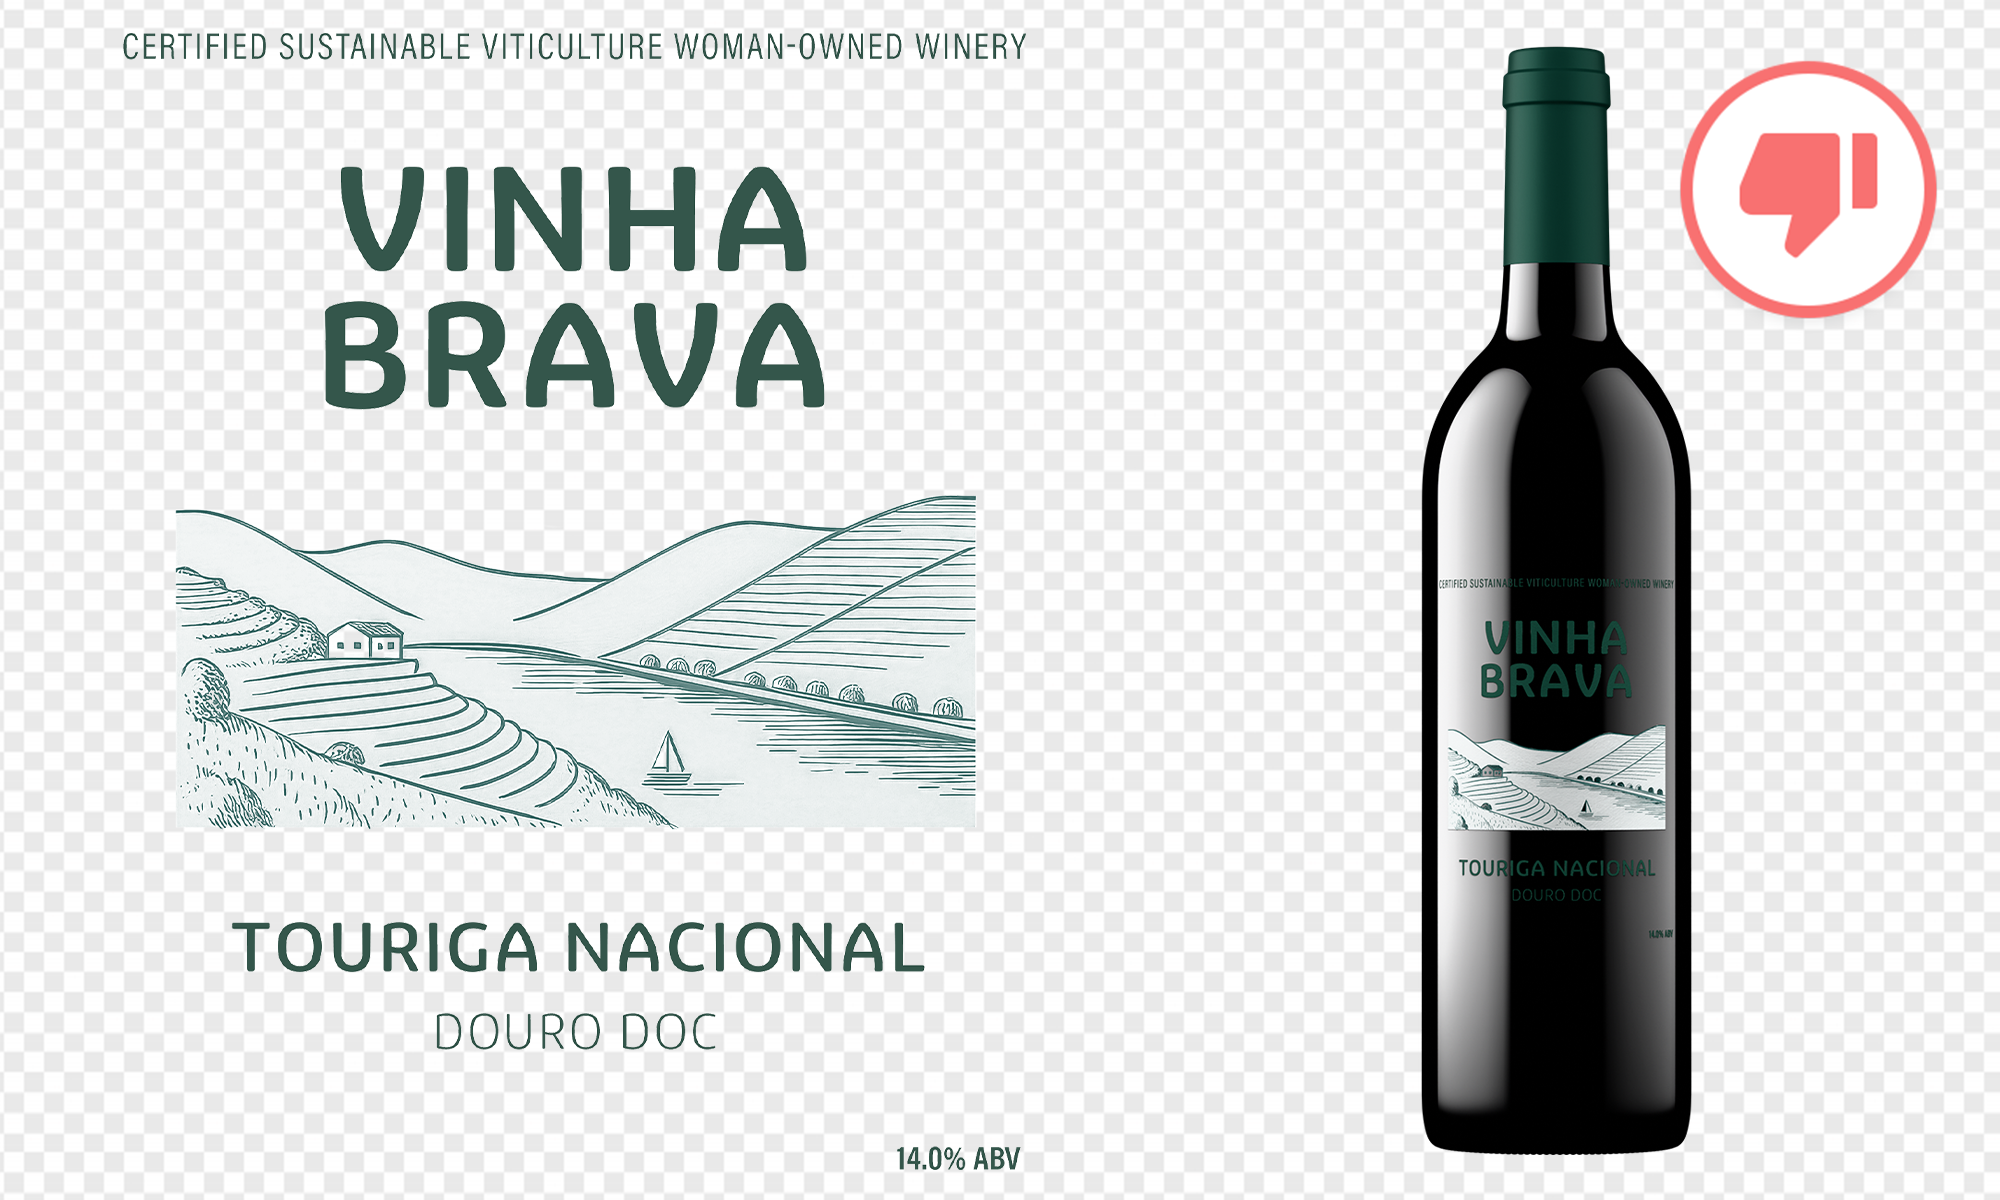
❌ Using a custom-shaped label where the area outside the label edges has a white (or any solid) background instead of being transparent. Note: if your label paper itself is white, that's fine! Keep it white. Only the area outside the label shape should be transparent.
❌ Expecting foil, embossing, or spot varnish effects to appear automatically
❌ Uploading back labels featuring FPO (For Placement Only) barcodes or QR codes.
Match the die-cut shape
The die-cut shape is the exact outline of your printed label: the way it’s physically cut by the printer (for example, a circle, oval, or custom curve). Make sure your file matches this shape exactly, so the label sits correctly on the bottle.
Uploading the best label file for Lite
To get the most accurate and professional results, follow these guidelines when preparing your label file:
Special finishes
Outshinery Lite cannot reproduce print effects like foil (gold/silver), embossing, debossing, or spot varnishes. If your design includes these, the best approach is to simulate them digitally in your file.
Pro tip: Add mock effects (for example, a metallic shine, textured background, or shadowing) directly in Photoshop, Illustrator, or your design tool. This ensures your final render looks as close as possible to the printed bottle, even if the physical print effects can’t be simulated.
Backgrounds
Tip: Avoid using pure black in your label artwork. Instead, use a very dark grey. This leaves room for natural shadows to show correctly in the render, keeping the image photorealistic and not flat.
The case of silkscreened (ACL) designs
This is different from paper labels. For silkscreened (ACL) designs, the ink is printed directly on the glass with no paper backing. In this case, provide your artwork as a high-resolution PNG where everything except the printed ink is fully transparent, since the glass itself will show through.
From there, simply proceed as usual:
Upload the PNG artwork
Adjust scale and positioning with the placement parameters
Generate your render with the design applied directly to the bottle
This way, your silkscreened look comes out crisp, accurate, and photorealistic.