

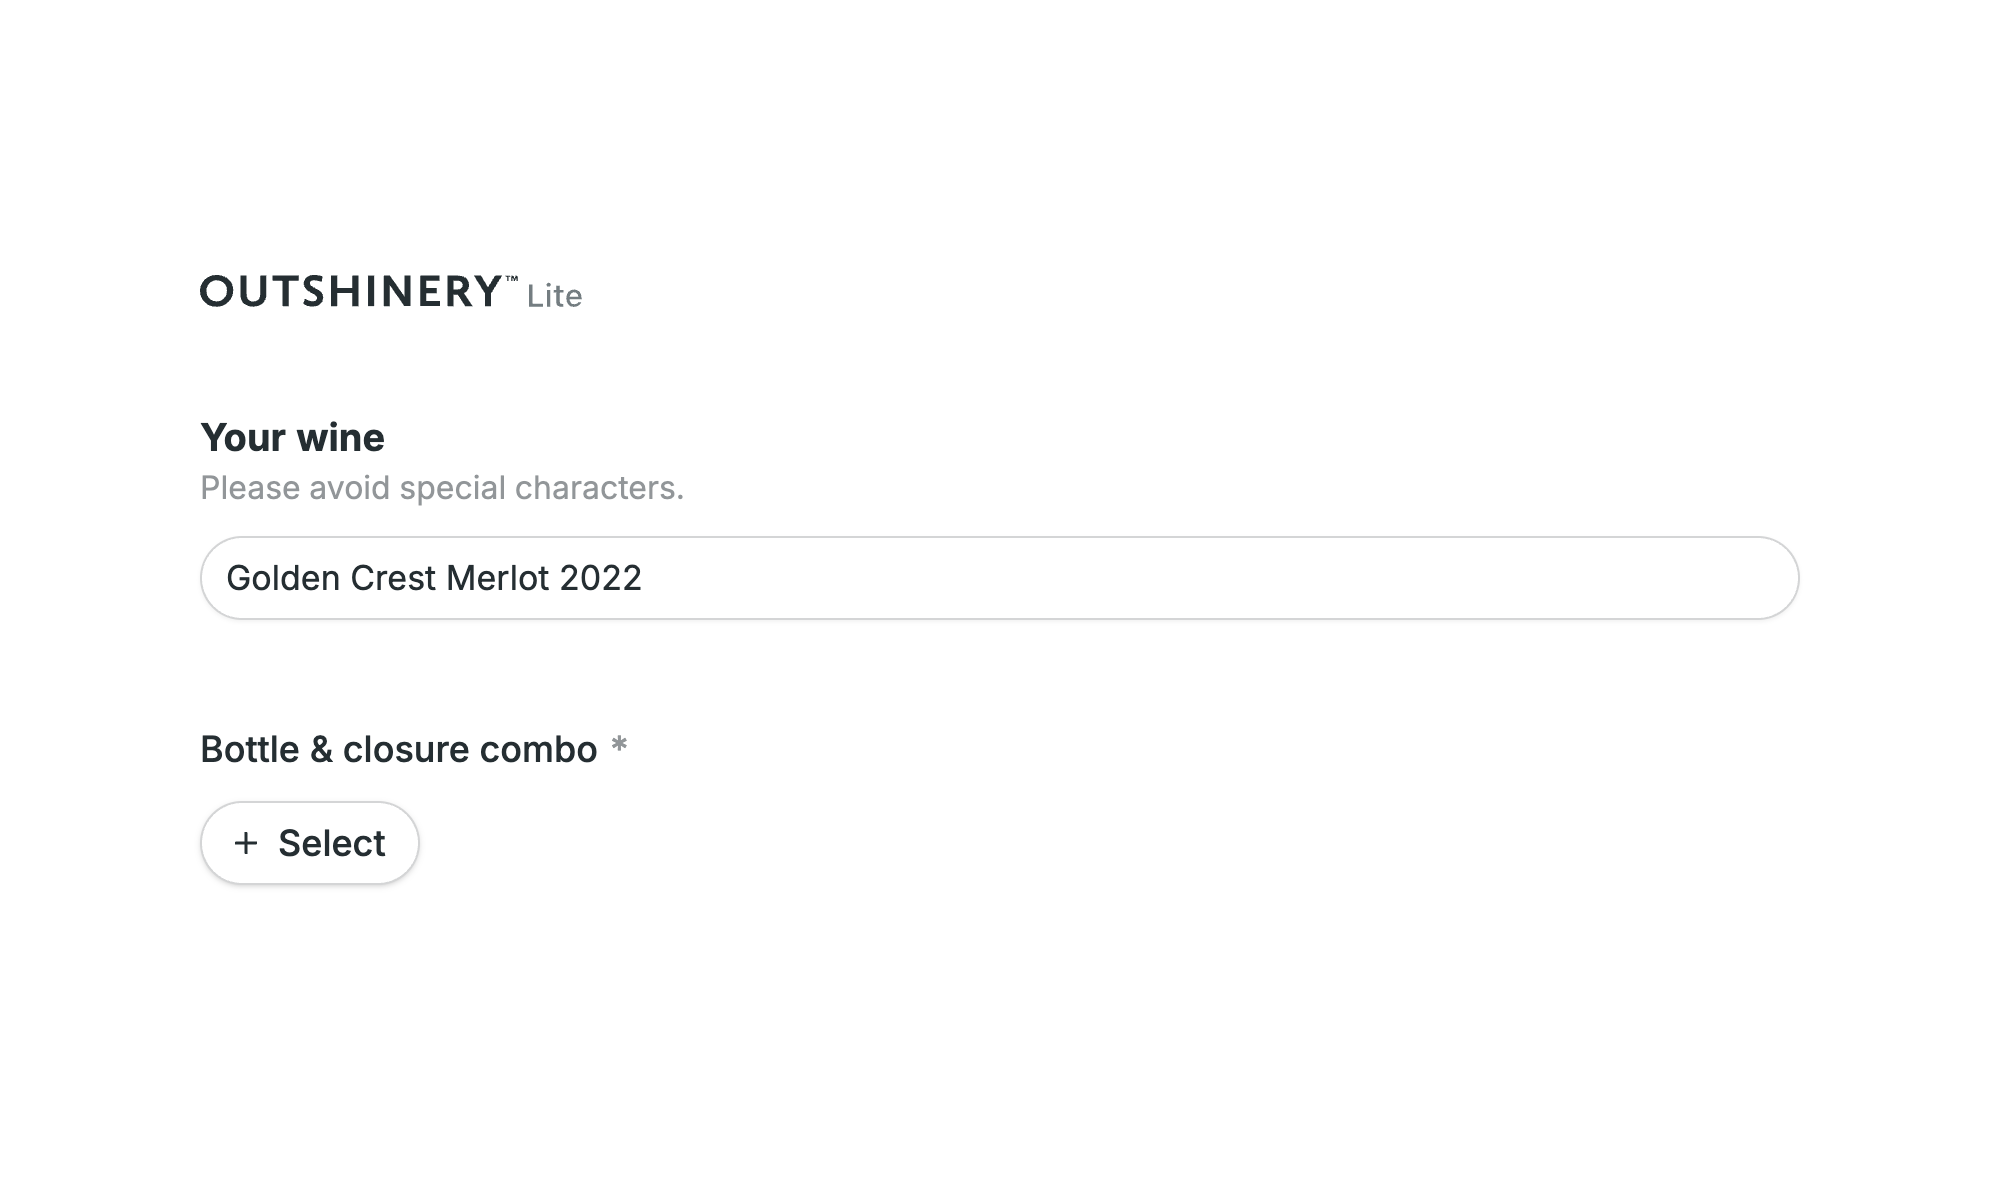
1. Name your image file clearly
To help you recognize your files easily:
Use this naming style:
Brand-Varietal-Vintage (for beer: Brand-Style)Avoid special characters
You can also add extras like
Appellation,Tier, orVineyardfor clarity
2. Select all the components of your bottle shot
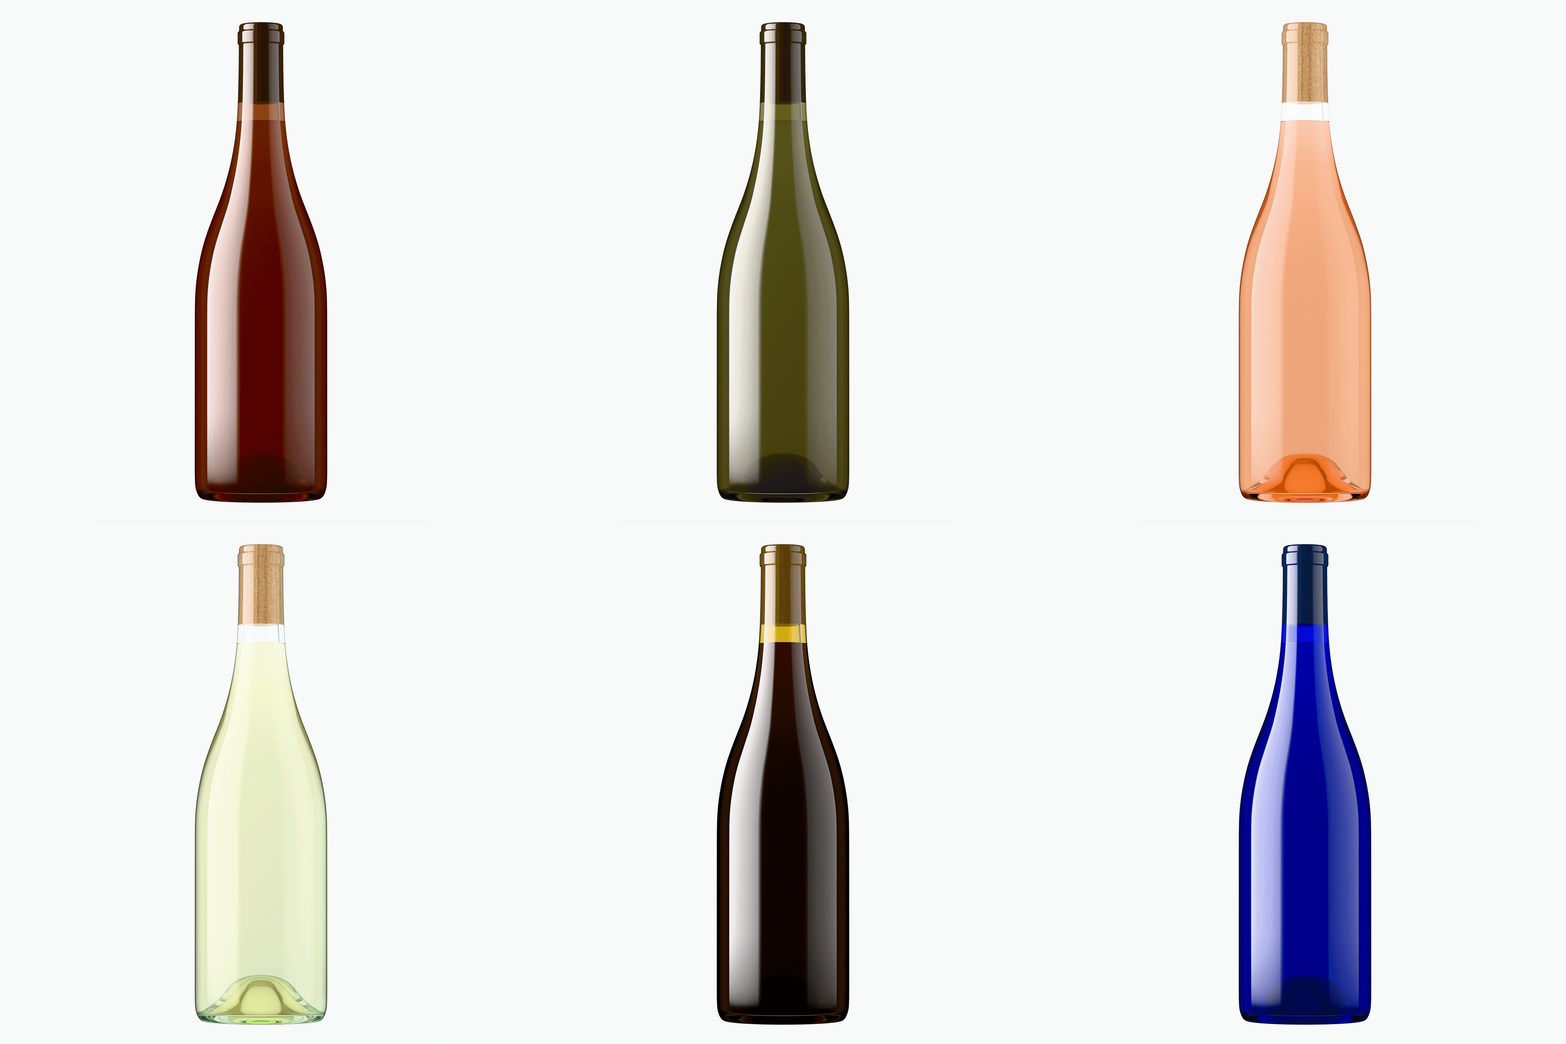
Glass shape + closure
Glass color
Wine/liquid shade (preview your glass + wine color combination on the Colors page: selections can’t be changed after ordering)
Closure material (if applicable)
Glass shape + closure: Pick your bottle family (Bordeaux, Burgundy, Hock, Sparkling, Specialty, or Beer), size (375 ml, 750 ml, or 1.5 L magnum for wine; 330 ml to 750 ml for beer), and closure type. Closure options include cork (five materials: natural, DIAM, agglomerated, micro-agglomerated, colmated) paired with a shrink capsule, short tin cap, wax dip (with natural randomness), or no capsule at all. Also available: screw caps, crown caps, and champagne hoods with wire cage.
For beer, the ten shapes are Heritage (12 oz and 25 oz), Commander (12 oz and 22 oz), Pilsner (341 ml and 22 oz), Classic Longneck (330 ml), Export (500 ml), and Belgian (500 ml and 750 ml). Every beer shape takes a crown cap; the Heritage 25 oz and Belgian 750 ml also take cork with cage and muselet. Full detail: Beer in Outshinery Lite.
Closure color/finish: Over 50 combinations across metallic, satin, high-gloss, matte, and sparkling foil finishes. If you chose wax, the color is set but the texture varies naturally.
Glass color: 12 options from Flint (clear) to Black, including green, blue, and amber tones.
Wine/liquid shade: 25+ shades in standard and hazy (unfiltered) versions covering reds, whites, roses, beer-friendly golds and ambers, and specialty colors.
3. Want to change or cancel?
Once your order starts processing, edits are impossible. So double-check everything: uploads, label placement, settings, before you hit submit.
4. Important ordering tips
Preview your label carefully before paying and submitting
Ensure your label matches the die-cut shape correctly
Double-check any placement offsets you entered
5. Label formats & best practices
Use a high-resolution PNG cropped to your label shape (transparent outside the edges, but keep the label paper color intact)
A flattened JPG is fine for simple rectangular labels. PDF is not supported as an upload: open it in the free Label Prep tool and download the PNG. If the tool can't handle it, request free label prep and we will convert it.
Avoid locked or corrupted files, these can prevent rendering
Learn more about ideal label files
6. Live preview & adjustments
The preview tool lets you see how your bottle will look before paying. Take time to perfect your label size and placement on the bottle. Once it’s right, render away!
7. Post-order receipt & re-ordering
You’ll receive a confirmation email with details and links right after ordering
That email makes it easy to reference your settings or reorder matching views later
FAQ
Can I cancel my order after payment?
Can I order multiple views (front, back, side)?
Can I reuse my settings for another wine?
Can I upload more than one label in the same order?
Can I preview my wine color on different glass materials?
My label came out with white edges. Can that be fixed?
Yes, free. The PNG had white pixels outside the label shape instead of transparency, and Lite renders exactly what it receives. Request free label prep and we clean the file and re-run it.